There are many processes that rely on hydraulic cylinders for their operation in such equipment as loaders and presses. However, failure will soon follow without proper maintenance of hydraulic components. That is why hydraulic cylinder devalving will be an essential aspect of maintaining the perfect performance of your machinery. It can seem frightening at first to perform the procedure yourself when you do it for the first time, but not after following our guide which explains every step of it safely.
The guide starts with preparation and basic precautions, then moves to removal of the cylinder. Disassembly is next, then cleaning and inspection of the parts. Lastly, assembly and testing.
Essential Safety Protocols and Pre-Devalving Preparation
Safety is the starting point of all hydraulic work. Make a mistake, and you may hurt yourself or cause damage. Concentrate on safety first to create a foundation before working on the cylinder
Assessing Residual Pressure and Lockout/Tagout Procedures
Ensure that residual pressure exists as well since it is the most dangerous thing. Measure the pressure using the gauge on the ports, or release pressure by opening the bleed valves. Do not forget to collect the draining fluid safely.
LOTO stands for Lockout/Tagout. This entails shutting down the machine and tagging it with your name and the date on which you did so. Make sure that the power has been locked on the hydraulic pump.
Put on protective gear anytime you work with machines. Wear safety glasses to shield your eyes from the splashes from the fluid. Put on gloves to protect your hands from injury as well. Hearing protection should be worn if the environment is loud.
Gathering and Inspecting Necessary Tools
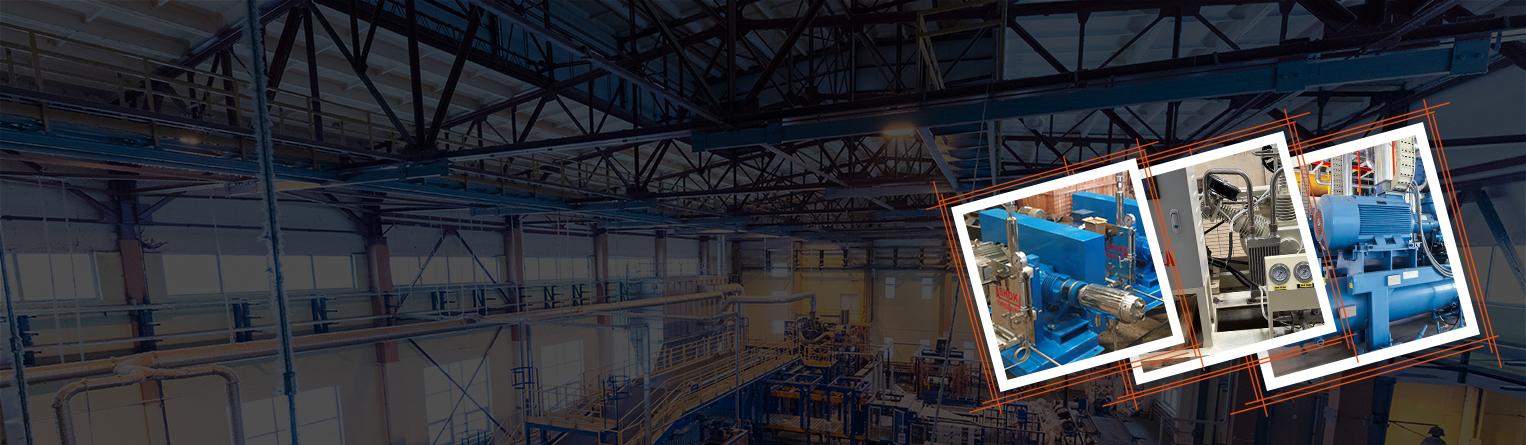
Use proper equipment to prevent mistakes. The cylinder pin wrench is needed for tight spaces. Retaining ring pliers are for retaining rings. Torque wrench makes sure everything is tightened evenly. Remember clean rags and solvent for wiping.
Check each tool before using them. Cracks or damage on wrenches should be observed. If the edges are dull, they may skip and cause injury. They must also be cleaned, no dirt must go into the cylinder.
Consider an actual mistake that was made. Once I witnessed a worker using an improper spanner to remove a gland nut. It spun out of place and damaged the piston rod. The repair took hundreds of dollars. Always use the correct spanner.
Documenting the Cylinder’s Baseline Condition
Take pictures before you begin. Take pictures of the end caps, hoses, and labels. Make sure to write down the part number on the cylinder. This will be useful when trying to find replacement parts.
Make notes on any special instructions or locations for bolts. Your phone or notepad will help you easily put everything back together.
Why is this important? In case anything goes wrong, you will have proof of how things were set up. This will also help identify any potential problems such as loose fittings from previous uses.
Depressurizing and Removing the Cylinder from Service
Now isolate the cylinder. This keeps fluid from spilling and dirt from sneaking in. Do it right, and the rest flows easy.
Safely Isolating Hydraulic Lines
Make sure the equipment is turned off. Unplug all the hoses using the wrench, but do so slowly as the lines may burst suddenly.
Make sure you cap the lines. Ensure that the fittings used are pressure-resistant and capable of preventing fluid leaks as well as contamination. Wipe off the openings with the cloth before capping.
Quick tip: Ensure that the caps you use fit correctly. Otherwise, they will break due to the pressure.
Removing Mounting Hardware and Cylinder Extraction
Undo the clevis pins or bolts next. Use a punch to tap pins out gently. For bolts, turn them counterclockwise with a socket.
Cylinders get heavy quick. Use a hoist or straps to lift it free. Get a buddy if it’s over 50 pounds—don’t strain your back.
Watch nearby parts. Shift hoses aside without kinking them. Once loose, pull the cylinder straight out. Set it on a clean bench.
The Devalving Process: Disassembly Sequence
Here’s the heart of it—taking apart a standard double-acting cylinder. Go in order to avoid twists or bends. Patience pays off.
Addressing the Gland and Rod End First
Secure the cylinder on a stable stand. Use a counter-hold tool on the barrel. This stops it from spinning as you loosen the gland nut.
Turn the nut counterclockwise with your wrench. If it’s stuck, add penetrating oil and wait 10 minutes. Pull the rod assembly out slow—watch for port snags.
Keep the rod straight. Wipe it clean as you go. Scratches here lead to leaks later. Reference your OEM manual for exact holds.
Separating the Piston from the Rod
Once out, clamp the rod lightly in a vise. Use soft jaws to avoid marks. Twist the piston off the rod threads.
If it’s seized, spray more oil. Tap gently with a mallet if needed. Apply even force—no jerks.
Check threads for damage. Clean any old sealant. This step frees the piston for a deep look.
Extracting the Piston and End Cap/Base End
Flip to the base end. Remove the cap with a puller tool. It hooks under the edge and pulls steady.
For stuck caps, tap around the rim with a plastic hammer. Avoid metal— it dents easy. Slide the piston out last.
Lay parts on a labeled tray. Note where each goes. This keeps your devalving organized.
Inspection, Cleaning, and Parts Identification
Don’t skip this—it’s where you spot problems. Clean work means better seals and longer life. Take your time.
Thorough Component Inspection for Wear and Damage
Look inside the barrel first. Check for scores or pits with a light. Run your finger along—feel for rough spots.
Examine the piston seals. See if they’re cracked or flat. Rod straightness matters—roll it on a flat surface.
Test bushings for play. Use a micrometer on the barrel bore. Compare to specs; over 0.005 inches wear means replace.
Bad seals cause 70% of leaks, per shop stats. Catch them now.
Cleaning Procedures and Seal Groove Preparation
Wipe parts with mild solvent. Avoid harsh stuff—it eats seals. Use a soft brush for grooves.
Rinse with clean water if needed. Dry right away with rags. No lint left behind.
Prep grooves by scraping old bits gently. This seats new seals flat. Cylinder seal replacement is a must here.
Identifying Seal Kit Requirements
Match old seals to a kit. Note sizes and shapes. Check the cylinder’s number against supplier charts.
Visual ID works too—O-rings, wipers, all count. Order extras for backups.
Right kits cut downtime. Long-tail tip: Search “double-acting cylinder seal kits by size” for quick matches.
Reassembly and Pre-Startup Checks
Put it back careful. Torque right, or it’ll fail soon. This mirrors teardown but with fresh parts.
Installing New Seals and Lubrication
Start with seals on the piston. Lube them light with hydraulic oil. Slide into grooves—right way up.
For the rod, use a guide sleeve. It stops seal rolls as you insert. Push even, no force.
Lube all moving spots. This eases startup and cuts wear.
Torque Specifications and Final Assembly
Thread the piston back on the rod. Tighten to spec—usually 50-100 ft-lbs, check manual.
Reinstall the gland. Torque the nut step by step. Use your wrench for even pull.
Secure tie-rods if there. Wipe the outside clean. Double-check alignments.
Reinstallation and Initial Testing Procedures
Mount it back with help. Connect lines snug. Bleed air by cycling slow—no load yet.
Run full strokes five times. Watch for smooth action. No jerks or leaks.
Add load gradual. Monitor pressure. If good, you’re set for work.
Conclusion
Safe hydraulic cylinder devalving starts with LOTO and PPE. Document everything, disassemble in order, inspect deep, and torque precise. These steps keep your first-time cylinder service solid.
Master this, and you’ll cut repair costs. Your machine runs reliable. Grab your tools—try it on that old cylinder today.